Showing posts with label Stamp Set - Best Bunny. Show all posts

Friday, 24 August 2018

BOGOF Event

Hello, Crafters.

Barring any hiccups, over the weekend I shall be launching my
 first ever online BOGOF (buy one, get one free) Sale, and it will 
run until the end of August. More details will follow very soon! 
Such exciting times!
Today's card is another example of how to use the large flower
 image from the Blended Seasons Stamp Set without having to 
colour the image. I stamped the image in Versamark on Crumb Cake
 Cardstock (CS) and heat embossed it using White Embossing Powder. 
Next I fussy cut the image around the white embossed outline
i.e. without leaving any edging. I took a piece of the Crumb 
Cake and white stripe design from the Neutrals 6" x 6" Designer 
Series Paper (DSP), and layered it onto a piece of Crumb Cake CS. 
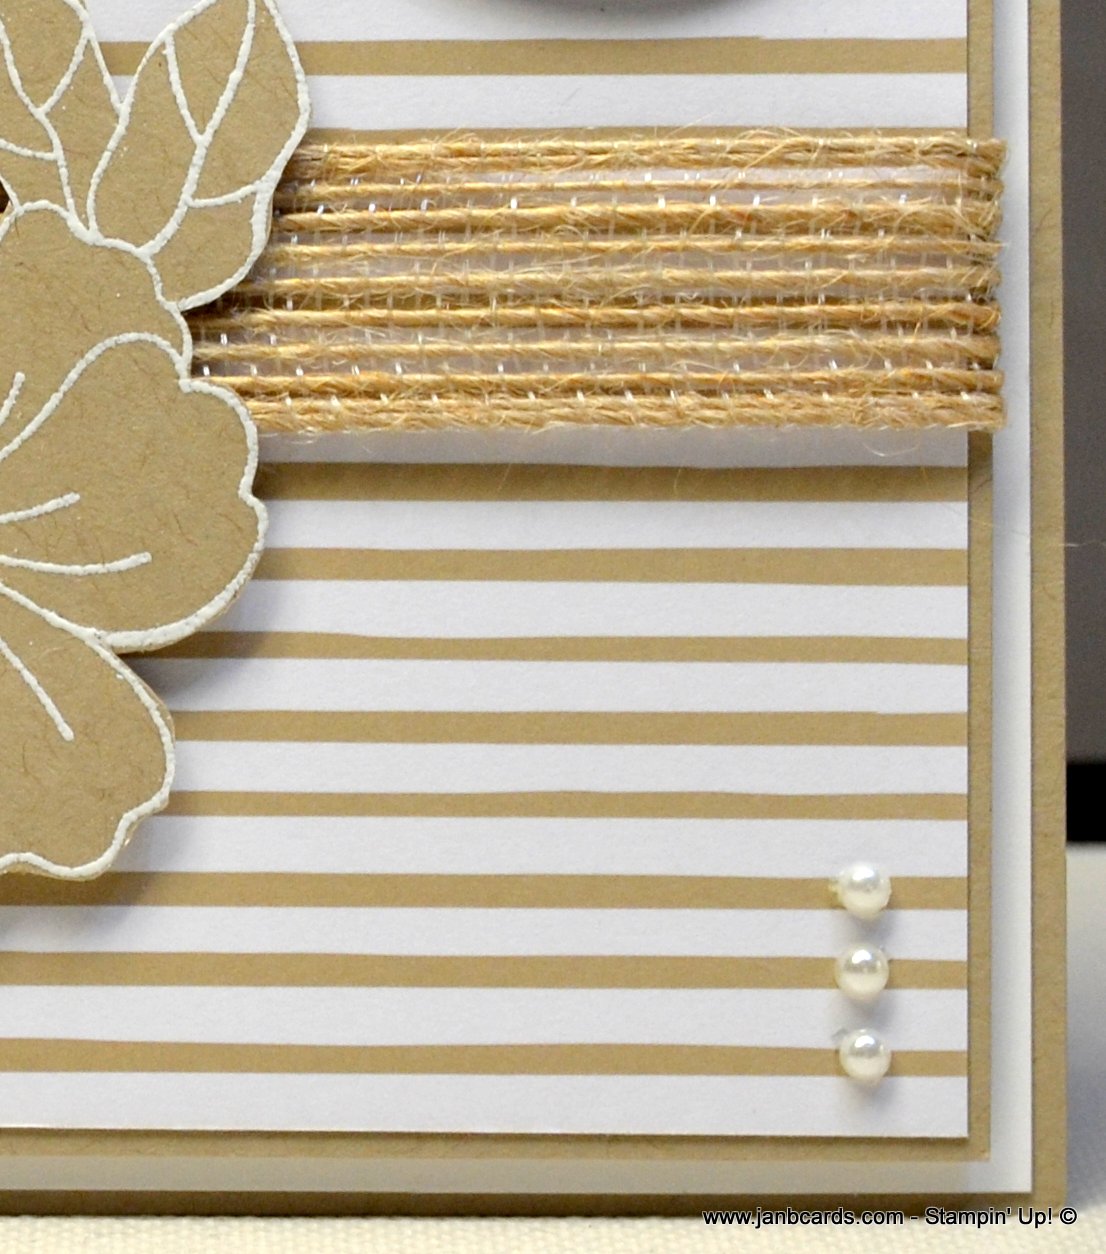
I wrapped a piece of Burlap around the centre and adhered at the
 back using Tear and Tape. Using Dimensionals I attached the flower
 image over the Burlap, and then using more Dimensionals I
 attached the layer to the card front ........upside down!!!  GRRR!! 
I cut the card base in half and made a larger card base than normal
 in Crumb Cake CS, and adhered the image layer the correct way 
round! I used the HAPPY BIRTHDAY TO YOU sentiment from the
 Best Bunny Stamp Set, and heat embossed it in white on Crumb Cake CS.
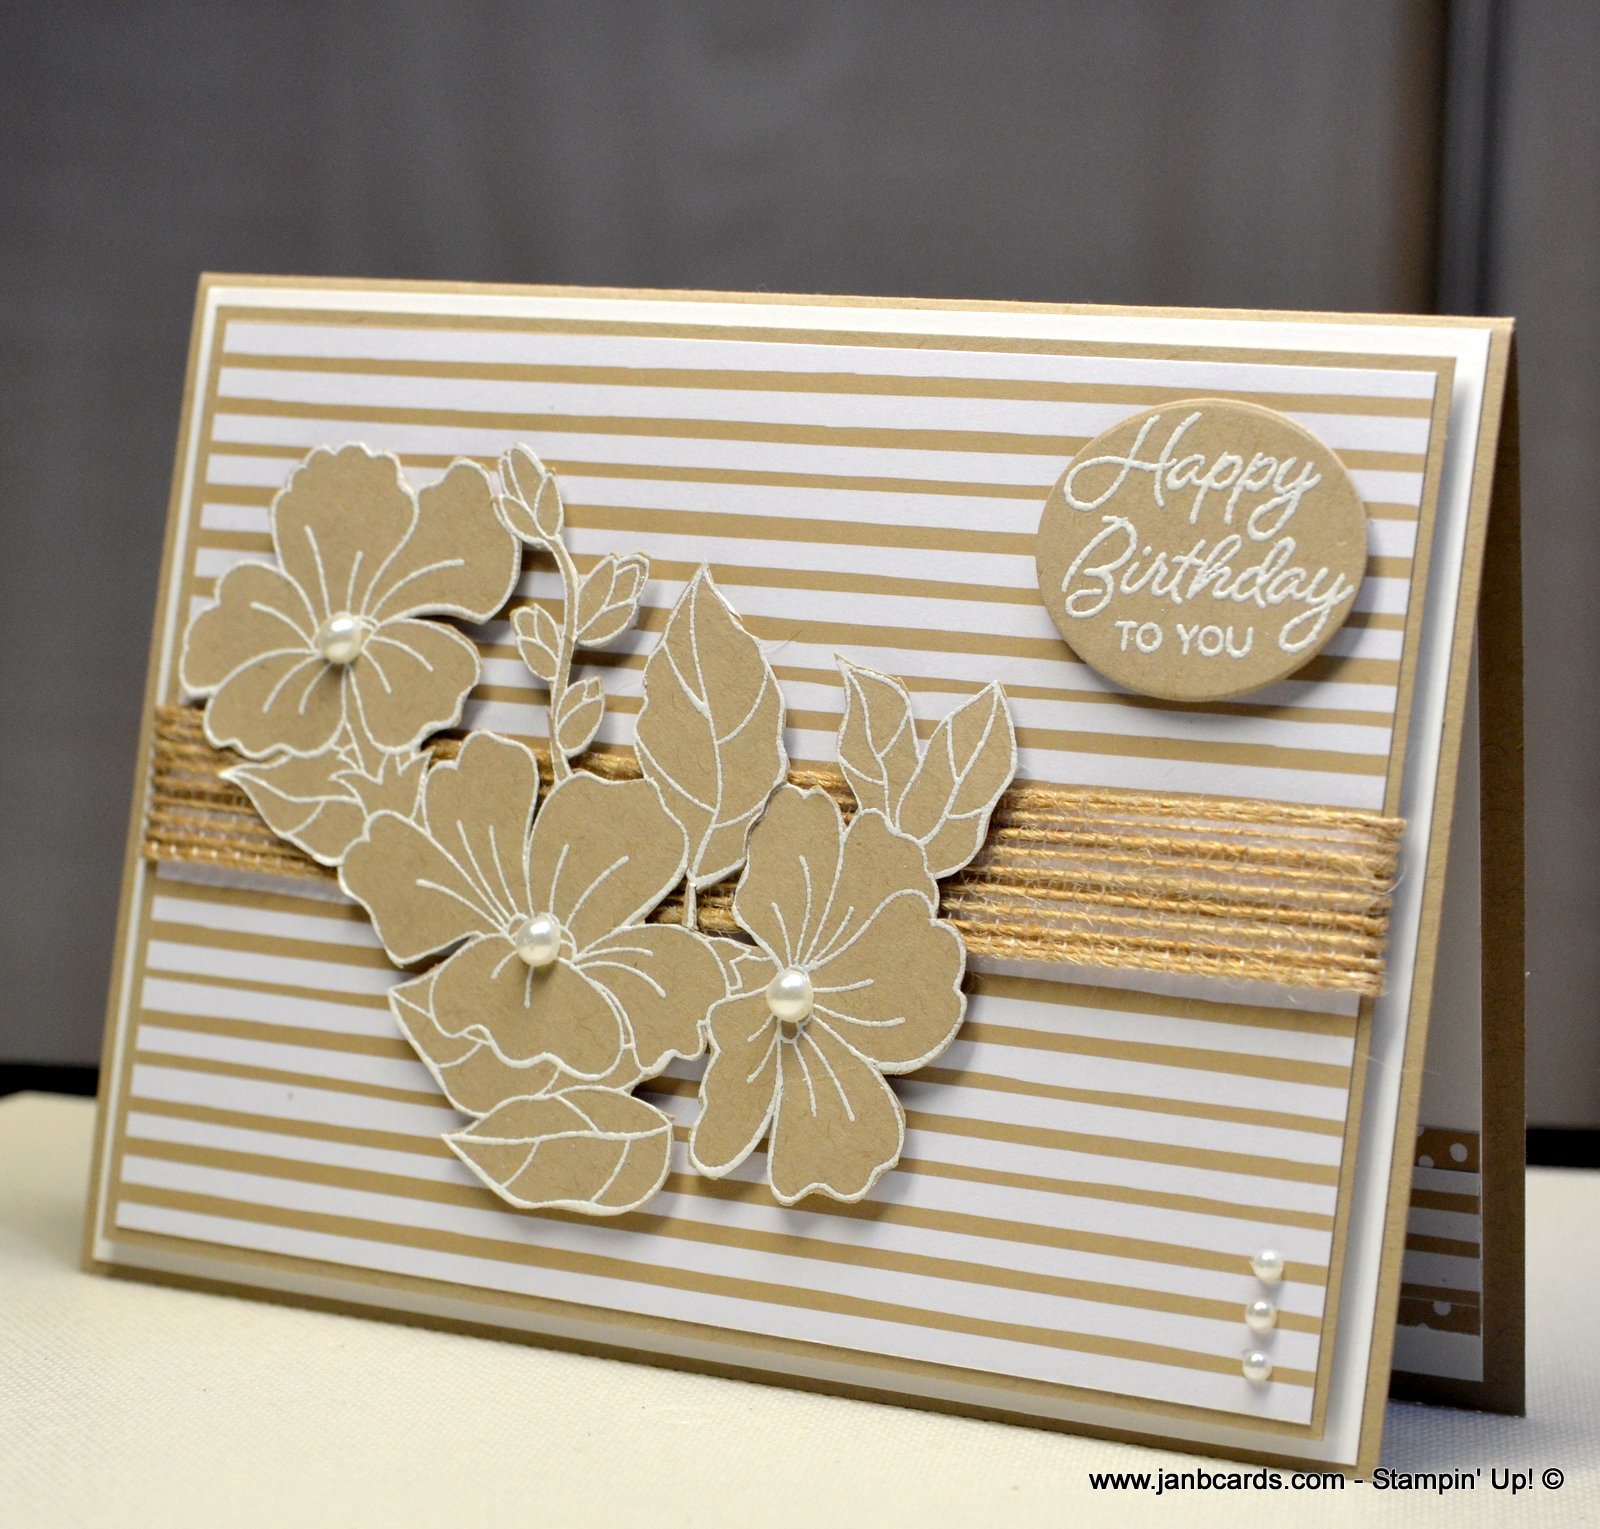
 Using  the small oval die from the New Night Owl Dies, I die
 cut the sentiment and adhered it in the top right-hand corner. I 
added a large Basic Pearl in the centre of each flower, and also a 
row of three smaller Basic Pearls in a vertical line in the bottom 
right-hand corner of the card. 
 

Later today, I'm hoping to pop back to give you the details of how 
my BOGOF is going work, and if all goes well, I'll launch it on Saturday! ☺

 In the meantime, happy crafting.

 JanB.


Product List

Thursday, 9 August 2018

Coastal Cabana Thank You Card

Hello, Crafters.

Yesterday was a day of clearing up, washing, dealing with 
queries, getting my nails done, and crafting! I made two cards, 
one of which be made into a video sometime soon, and
 a Thank You card to share with you here on my blog! I
 can't tell you how good it feels to be back! ☺
  I'm so pleased we can now buy Designer Series Paper
 (DSP) Stacks in all the colour families again. I chose 
Coastal Cabana and started with four 1.25" squares in
 DSP, and four 1 3/8" squares in Coastal Cabana Cardstock
 (CS). I adhered the squares together in pairs with Tombow. 
 Next I adhered them onto a piece of Whisper White CS
 that measured 3 1/8" square, alternating them between
 vertical and horizontal. I stamped Thank You - which is 
from the Southern Serenade Stamp Set - on to a piece 
of Whisper White CS using Coastal Cabana Ink. I punched
 it out using the 1.25" Circle Punch and adhered it to a
 scalloped Coastal Cabana circle I'd punched out 
using the 1 3/8" Scallop Circle Punch. 
 
After adhering them together with Tombow, I adhered it to 
the square using Dimensionals. I took a layer of Coastal
 Cabana CS and dry-embossed it using the new Swirls 
& Curls Embossing Folder which will be available 
in the new Christmas catalogue. 

If you have shopped with me in the last twelve months, I 
will automatically send you a free copy before the end 
of August. If you don't already have a Stampin' Up!
 demonstrator and would like to shop with me, I'll be happy
 to pop a catalogue in the post! 
Just email me your details to janb@janbcards.com.

 I added the top layer to a layer of Whisper White CS , and 
adhered a piece of our 5/8" Polka Dot Tulle Ribbon around
 the lower half, and then I added a piece of retired Coastal 
Cabana Ribbon. I tied a separate bow using a piece of 
Tuille Ribbon and adhered it using Tombow. I used 
Dimensionals to adhere the square to the card front,
 and decided it needed something to finish it off!
  I made three flowers by stamping, and punching out
 the Bunny tail from the Best Bunny Stamp Set. I 
gave the flowers some dimension before adding a 
Basic Pearl in the centre of each. I also added three
 small Basic Pearls on the sentiment. I added a layer 
of Whisper White CS inside the card but left it blank 
as it's a Thank You card and I like to leave plenty 
of space in case the message is a long one!  
 That's about it from me today! Until tomorrow, happy crafting.

JanB.

Monday, 16 July 2018

Pop of Petals & Petal Burst

Hello, Crafters.

I hope you had a super weekend and are ready to face
 a new week and whatever challenges it may hold for you! On
 Thursday, we fly to Seattle for the 2018 Stampin' Up! Incentive
 Trip to Alaska. When the ship gets back to Seattle, Hubby and I
 are flying to Las Vegas for a few days before returning home.

 When I decided to make today's card, I wanted to have a 
dry-embossed top part and bottom part with the greeting
 in-between. I chose to use the Petal Burst Embossing Folder, 
and some Gorgeous Grape flowers, from Pop of Petals, that
 I had left-over from one of last week's projects. 
After I had embossed my top layer of Whisper White Cardstock (CS),
 I started to cut around the leaves, and headed in as straight a
line as possible, without cutting through any leaves. As I wasn't
 sure how this was going to work out, the top layer I
 used was my regular size.
 I chose the smaller piece of the two "halves" and used
 temporary adhesive to adhere it in what would be its final
 position. I did this so I'd know where to heat-emboss my 
sentiment, using Whisper White Embossing Powder. When
 I had finished the heat-embossing, I laid the top half of the
 dry-embossed Whisper White CS in what would be its
 final position, and made a mark where I needed to
 cut the excess off!
 I adhered both halevs to the Gorgeous Grape layer and played
 around with a few flowers  to decide how I wanted to decorate the
 front of my card. For the large flower, I decided one double-layer
 flower was enough, but I wanted some smaller flowers and leaves.
 Using Gorgeous Grape and Granny Apple Green Inks, I 
stamped several plain green leaves, and a few clusters of 
flowers - both stamps were from the Pop of Petals
 Stamp Set. I found it amazingly easy to fussy cut
 the leaves and the flowers.

I finished the front of my card off with some retired gems that I didn't realise had retired! I've forgotten what they're called, and to be honest, I didn't realise they had retired! To decorate the inside of the card I adhered the remaining strip of the dry-embossed front layer, and added another double flower from Pop of Petals, to which I'd added three leaves. I wasn't totally happy with my choice of embossing folder for this design of card, so don't be surprised if you see me revist this idea! 

Finally, you may remember at the beginning of June, I said I
 was going to cut down the number of times I post my blog each
 week, and I really tried hard! But for better or worse, I failed! I
 really don't like not posting every day! I decided that I will post 
every day, but I won't guarantee I'll be able to post a new 
project every day, but that is what I'll be aiming for!  
Many thanks for having patience with me while I try, and find 
a happy balance. While I'm away, I'll still be posting my videos, 
but I won't be creating any new projects. Instead, I'm hoping to
 give you an update each day about how my trip is going. Many
 thanks for your continued support. ♥
 Until tomorrow, happy crafting.

JanB.  

PS The sentiment I used for today's card is from the
 Best Bunny Stamp Set! ☺

Tuesday, 3 July 2018

Best Bunny

Hello, Crafters.

I fell in love with the Best Bunny bundle when I first saw it back
 in April, so I'm really surprised that this is the first time I've played
 with it. I have to say that I'm not totally happy with today's
 card although I love the concept.
I would have liked to have changed the flowers I used, but I was 
running out of time and decided I was being overly critical...........as
 I often am! LOL!  I really went out of my comfort zone with
 my colour scheme, but I'm pleased I rose to the challenge! 

There are three different faces to choose from for the bunny, 
which range from normal - which is the one I've used, then there's 
one with him winking, and the last one is with buck teeth! When I 
first started working on the rabbit, I decided that I wasn't goining to
 use the paws, but in the end, I decided the bunny looked
 funny without them!

They are a great addition to this stamp set as they can be used up - as
 I have done - or down so the paws can be put under the present like 
he carrying it! Without the paws, it's easy to make it look as if you're
 looking at the rabbit from the back. 

There's a stamp and die for a fluffy tail, or it'd be just as easy to 
use a small piece of cotton wool or a tiny white pom-pom! The
 more I look at my card, the more ideas keep
 popping into my mind!
  I used three stamp sets for today's card: Best Bunny, Floral
 Frames for the flowers, and Birthday Posies for the sentiment. I
 really seem to be stuck on this stamp set for my sentiment over
the past few days!  I must try and use something a bit different!! 
The die sets I used are the Foliage Frame, which goes with the 
Floral Frames, and the Layering Ovals.

 The Best Bunny Stamp Set is on offer as a bundle with the
 Rabbit Builder Punch, and punches out the head, the body, the
 paws, and the pom-pom tail. Although it doesn't show up in 
the photographs - except possibly the close up of the rabbit, I've
 painted both rabbits, the flowers, the leaves, the carrot and
 the gift with my Clear Wink of Stella Glitter Pen.

The other two products I've used to create today's card is the Basket
 Weave Dynamic Embossing Folder, and the Nature's Poem Designer
 Series Paper. I'm going to play with this set a bit more because I do
 think there are quite a few things that can be done with this bundle.
  I had a thought yesterday morning that made me panic a bit!
 I only have seventeen days to make my swaps for the Alaska Incentive
 Trip, as well as four more videos that I can post while I'm away! I 
think I'd better get a move on, don't you? LOL! 
That's it from me today, until tomorrow, happy crafting. 

JanB.

Sunday, 17 June 2018

Secret Message Card Video

Hello, Crafters.

I hope you're enjoying your weekend.
Today's video features a Secret Message Card which has 
been around for years, and is probably one of the easiest
 fancy fold cards to make.

 The actual card can be put together in about five minutes or so. The
 part that takes the time is the decorating, and I'm amazed I've used 
a staggering NINE different stamp sets. 

As usual, I've listed all the stamp sets I've used in the box below the
 video but you're free to choose from your own stash if you don't feel
 like treating yourself to any of the sets I've used! ☺

The first Secret Message Card I decorated is the Lemon Lime Twist
 and Fresh Fig card - it took what seemed like hours. The reason 
for this is that I punched or die cut each image and sentiment. 

I'm pleased with the way my card finished up, but it did teach me 
an important lesson for when I need several images and several
 sentiments! 

The lesson is, choose photopolymer stamps, and stamp directly 
onto each section direct no die-cutting, or punching! I had masses 
of different ideas going through my mnd as I was 
working on this project.
The finished size of my card is 6" x 6",  which is a lovely sized card. 
I did make one that was the same size as our regular card but it
 didn't feel a good size to send someone as a greeting card!

 Before starting this project, I watch several videos on YouTube,
 and I saw some amazing ideas. The one that really sticks in my 
mind, was from a young lady who used some fancy edged 
scissors to cut her lines - her card looked fabulous, and it appeared 
to work really well.
 Unfortunately, I'm not happy to recommend something usless I've 
tried it, so I may go back to the drawing board on this at some time!

I hope you enjoy todays project and give it a go. 
I wish you a very blessed Sunday, 
and until tomorrow, happy crafting.

JanB.