
Hello, Crafters.
Yesterday I had a lovely walk in the sunshine, down to the
town to collect my car, which hubby had dropped off in the
morning for a service. As far as I'm concerned, this weather
can carry on for several more weeks like this, as long as
it turns cold in time for Christmas! ☺

This is another stamp set that's just crying out to be painted!
Yesterday I painted it twice, once with our Marker Pens and
once with our Blends - and I liked both results equally. For
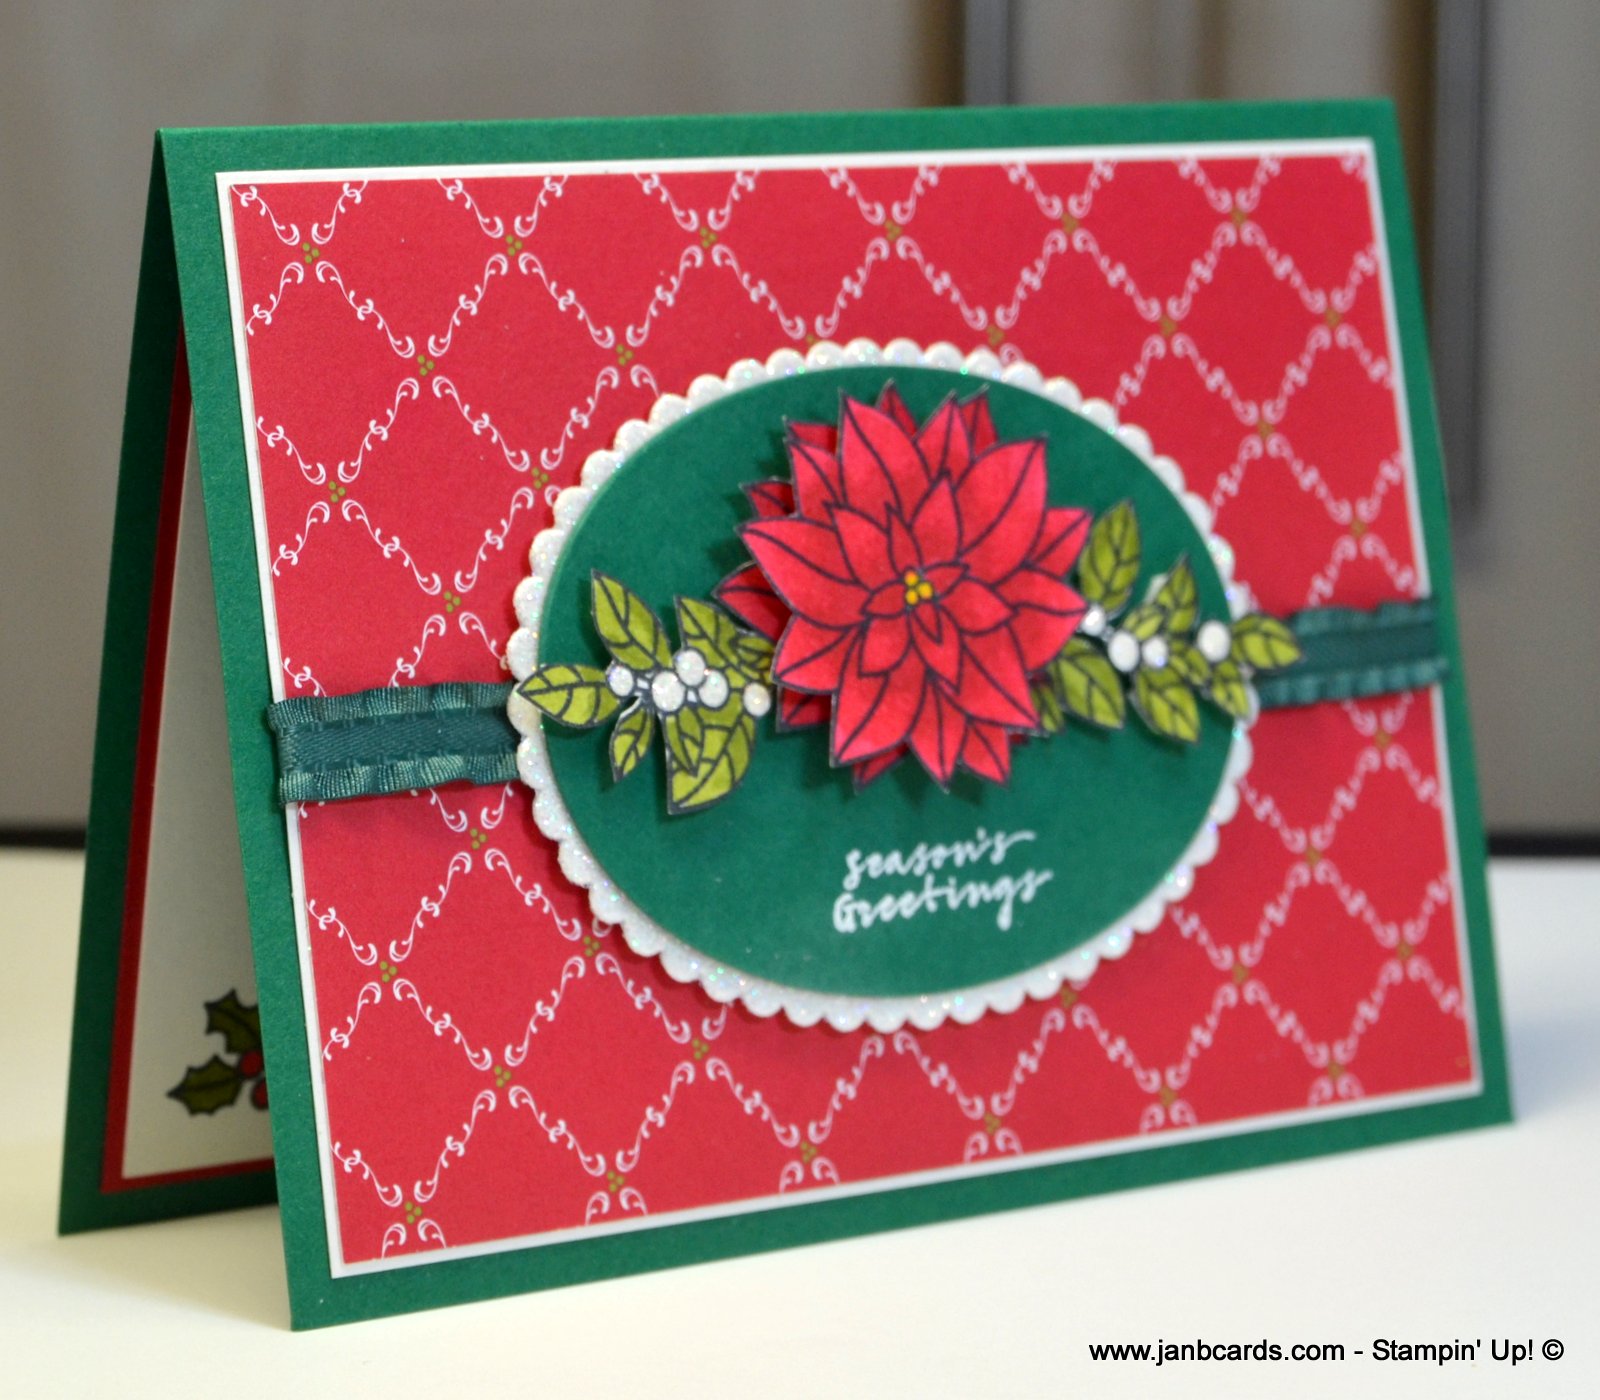
today's card, I used our Blends, and I stamped the image
twice on Shimmery White Cardstock (CS) using Tuxedo
Black Memento Ink. The Blends I used are the Real Red Combo
and the Old Olive Combo, plus Dark Daffodil Delight for the centres.

It was a toss up between the Frost White Shimmer Paint and
Dazzling Diamonds for the berries - the latter won! I think
Stampin' Up! have excelled themselves again with their
fabulous colour revamp! Although I used Shaded Spruce for
my card base and the inner oval, the ribbon is Tranquil Tide.

I knew the direction I was taking the design of my card, but
I needed a small sentiment, and there isn't one in the
Peaceful Poinsettia Stamp Set. There are three, but have
been designed to be a prominent feature on a card, so I had a
look at my other Christmas stamp sets and found this
beautiful Seasons Greetings in the Wishing You Well Stamp Set.

As I was using Dazzling Diamonds Glimmer Paper - this is now
retired and we have Sparkle Glimmer Paper instead - I
wasn't sure whether to heat emboss the sentiment in
White or Silver. White won and it was the right decision;
I'm really pleased with how it looks!
After I had painted one of the two stamped images, I
decided to paint the second poinsettia only, and then to
fussy cut it. I used the die from the Detailed Poinsettia
Framelits to die cut the complete painted image, but it
didn't look right against my fussy cut flower. This was because
I had cut around the black edging, but the die had left a
very narrow white edging. It would have been alright if I
had left a white edging, but I didn't so I fussy cut the whole
image! It wasn't too bad as the die had laid the guidelines
so it was just a question of following them!

I covered all the berries with Fine Tip Glue, then covered
with Dazzling Diamonds, and put the die cut to one side to
dry! The Designer Series Paper (DSP) is from the same pack
I used for yesterday's card, which was Under the Mistletoe.
As I'm sitting writing this, I'm looking at my card and feel it
needs something to finish it off. I've decided it needs some
yellow pearls in the centre of the flower. Unfortunately,
I've finished taking all my photographs! Grrr!

To finish the inside of my card, I stamped the strip of holly
stamp twice in a row, along the bottom of the inside layer,
and coloured with the green and red Blends as before. I
also added a robin from the Feathers & Frost Stamp Set!

I hope you've enjoyed today's project, and maybe you'll
give it a try! Until tomorrow, happy crafting.
JanB.
Products Used


 Mini Ruffled Ribbon")
How did I miss THIS yesterday?! It's gorgeous! Love how you've combined the 2 stamp sets ... beautifully done, my friend! Love too that you've pulled out your Dazzling Diamonds again. It's just the perfect touch of glitter against the beautiful bold red and green!
ReplyDeleteHi, Geraldine. Yes, my Dazzling Diamonds have been seriously over looked, but the good news is, they're BACK!! ☺ Happy crafting. JanB.
DeleteHow did I miss THIS yesterday?! It's gorgeous! Love how you've combined the 2 stamp sets ... beautifully done, my friend! Love too that you've pulled out your Dazzling Diamonds again. It's just the perfect touch of glitter against the beautiful bold red and green!
ReplyDelete